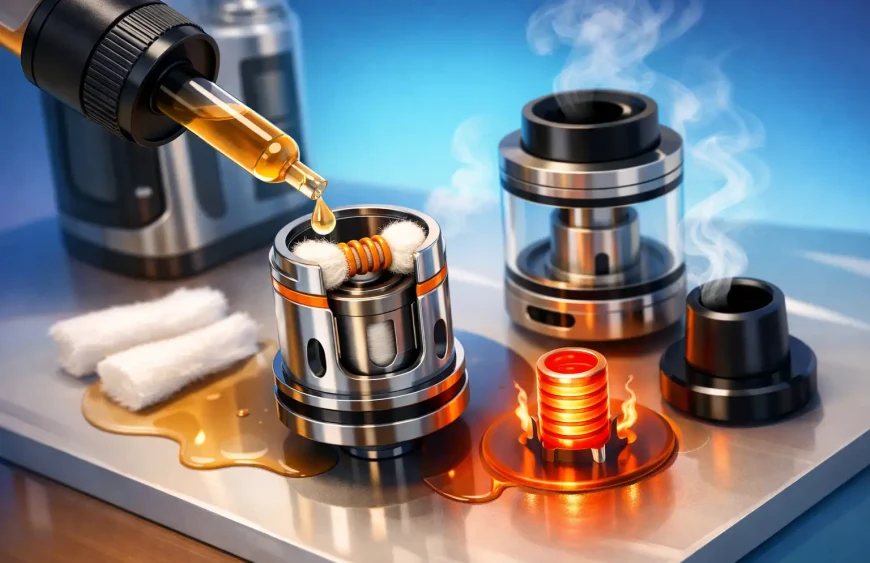
That burnt, scratchy hit after fitting a fresh coil is usually not a bad batch. It is usually a wick that was heated before it had enough e-liquid. Knowing how to prime vape coils takes less than a minute, costs nothing, and can make a noticeable difference to flavor, vapor production, and coil life.
A new coil contains dry cotton. Before you press the fire button, that cotton needs time to absorb e-liquid all the way to its center. Skip this step and the coil can singe immediately. Once cotton is burned, adding more liquid will not restore the clean flavor – the coil needs replacing.
What Priming a Vape Coil Actually Does
Priming means saturating the cotton wick inside a new replacement coil before vaping. The metal coil heats rapidly, but e-liquid does not soak into dense cotton instantly. Priming gives the wick a head start, so the first puff is smooth instead of dry.
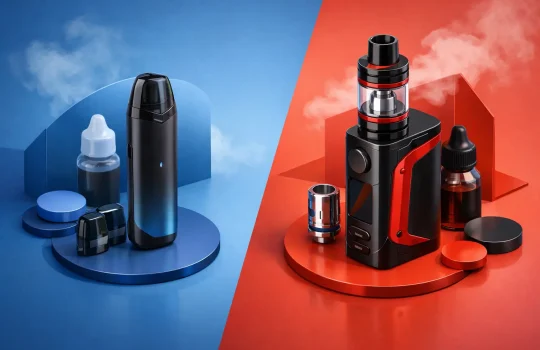
It is especially useful with higher-powered sub-ohm tanks, larger mesh coils, and thick high-VG e-liquids. These setups use more liquid and produce more vapor, but they also demand better wicking. Pod coils benefit too, particularly when using 50/50 liquids or nicotine salts where a clean, consistent draw matters.
The goal is simple: wet the exposed cotton, install the coil correctly, fill the tank or pod, and allow enough time for full saturation. There is no need to flood the coil or pour liquid down the center airflow tube.
How to Prime Vape Coils Step by Step
Start with a coil that matches your device. Check the resistance, fit, and recommended wattage range printed on the coil or packaging. Similar-looking coils are not always interchangeable, and forcing the wrong one into a tank or pod can cause leaking, poor connection, or damage.
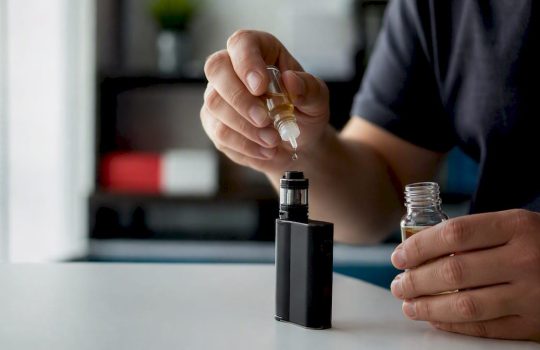
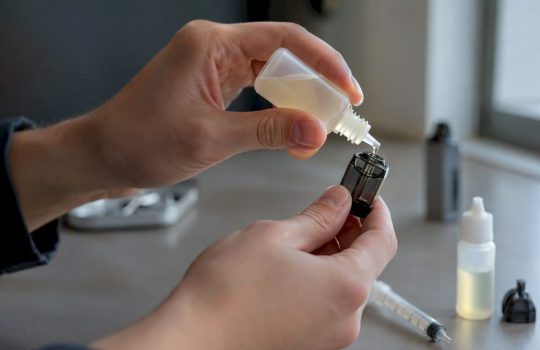
Remove the new coil from its packaging and look for the visible cotton ports around the outside. These are the openings where e-liquid enters the wick. Place a small drop of e-liquid directly onto each exposed cotton port. For most coils, one drop per port is enough. If you can see cotton through the top of the coil, you can add one or two drops there as well.
Do not drip liquid into the narrow center tube. That is the airflow path, not the wick. Filling it can cause gurgling, spitback, or leaking through the base of the tank.
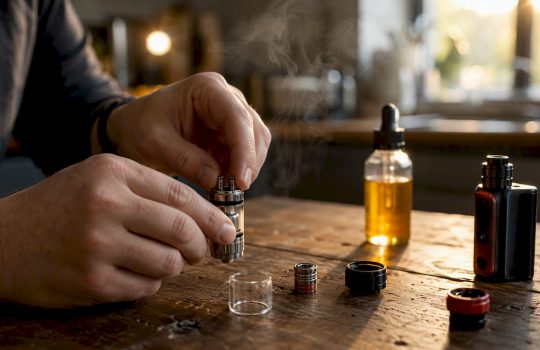
Install the coil firmly, following the direction required by your device. Some coils push in from the bottom, while others screw into the base or click into a pod. Reassemble the tank or pod, then fill it with a compatible e-liquid. Keep the liquid level above the wick ports whenever possible.
Now wait. Five to ten minutes is the usual minimum for a new coil, but thicker e-liquids and larger coils can need longer. If you use a high-VG liquid in a sub-ohm tank, giving it 10 to 15 minutes is a safer move.
Before vaping, take two or three gentle pulls through the mouthpiece without pressing the fire button. This is often called a primer puff. It helps draw e-liquid toward the coil. Do not pull too hard, especially on smaller pod systems, because excessive suction can flood the coil.
Set your device to the low end of the coil’s recommended wattage range. Take a short first puff, then increase power gradually over the next few draws if you want a warmer vape or more vapor. Starting at maximum wattage is one of the fastest ways to ruin an otherwise well-primed coil.
Why Coil Priming Can Still Go Wrong
If the first draw tastes burnt after you waited and primed properly, check the basics before assuming the coil is defective. Your e-liquid may be too thick for the device, the wattage may be too high, or the coil may not be seated correctly.
Small pod devices generally work best with thinner 50/50 e-liquids, often paired with nicotine salts. Very thick high-VG liquid may struggle to reach the cotton quickly enough, especially during frequent puffs. Sub-ohm tanks and larger mesh coils are usually better suited to higher-VG e-liquids, though each coil has its own limits.
Chain vaping is another common cause of dry hits. Even a fully primed coil needs a moment between puffs to pull fresh liquid into the cotton. This matters more at higher wattages or when using sweet, dense liquids. If flavor starts fading during a long session, pause for a few seconds rather than pushing through it.
A nearly empty tank can create the same problem. When the liquid falls below the cotton intake ports, the wick may dry out unevenly. Refill before the level gets too low, especially with bottom-fed coil designs.
Priming Pods Versus Tank Coils
The method is similar, but sealed pods require a lighter touch. If the pod has a built-in coil and no removable coil head, you normally cannot apply drops directly to the cotton. Fill the pod through its designated fill port, seal it securely, and leave it standing upright for at least 10 minutes before the first use.
For refillable pods with replaceable coils, add a small amount of liquid to the visible cotton ports if the design allows it. Then fit the coil, fill the pod, and wait. Avoid over-priming compact pod coils. Too much liquid in a small coil chamber can lead to popping, gurgling, or liquid reaching the mouthpiece.
Disposable devices are different. Their coils are prefilled and factory-saturated, so there is no priming step for the user. If a disposable tastes burnt from its first use, stop using it rather than trying to refill or open it.
A Better First Puff: Wattage, Airflow, and Patience
Priming is not only about adding drops of liquid. Your device settings also decide whether that fresh cotton survives its first few puffs. Always use the wattage guidance marked on the coil, and begin at the lower end of the range.
For example, a coil rated for 40 to 60 watts should not be fired at 60 watts immediately after installation. Start around 40 watts, take a few measured puffs, and move upward in small increments. This gives the wick time to keep up as the coil reaches its normal operating temperature.
Airflow affects the experience too. A more open airflow is often better for higher-wattage direct-lung vaping because it helps keep the coil cooler. A tighter airflow suits many mouth-to-lung pods, but a very restricted draw combined with long puffs can overheat a small coil.
Flavor is your best warning signal. Clean, full flavor means the wick is feeding properly. A dry, papery, harsh, or toasted taste means stop firing immediately. Let the device rest, check the liquid level, and lower the wattage if needed. Continuing to vape through a dry hit usually turns a recoverable issue into a permanently burned coil.
How Long Should a Properly Primed Coil Last?
There is no fixed number because coil life depends on the liquid, power setting, puff length, and how often you vape. A coil can last several days to a couple of weeks, but heavily sweetened liquids tend to leave residue on the heating element faster. Darker desserts, candy profiles, and very sweet fruit blends can shorten coil life compared with cleaner, lighter flavors.
Priming will not prevent normal wear, but it prevents the avoidable early failure that happens when dry cotton is scorched on day one. Keep your device within the recommended power range, refill before it runs low, and give the wick a short recovery period during back-to-back use.
When flavor stays muted after refilling, the draw feels tight, or you notice a persistent burnt taste, replace the coil. Trying to stretch a spent coil rarely saves money – it usually wastes e-liquid and makes every puff less enjoyable.
Fresh coils deserve fresh e-liquid and a calm first setup. Give the cotton time, start low on power, and let the flavor build over the first few puffs. It is a small routine that protects your gear and helps every bottle perform the way it should. Vaping and nicotine products are for adults only, and nicotine is addictive.